Pages

Showing posts with label Ornaments. Show all posts

Tuesday, 20 December 2016

Beaded stars and strings of hearts

Oh dear. I've found Pinterest. I had avoided it for ages, but have finally succumbed. Why didn't I do this before???!!!

I am simultaneously drowning in inspiration and gasping with a drought of time - too long spent gazing excitedly at the computer screen. So, quite apart from the compulsory Christmas makes, I am only allowing myself to be distracted by the quickest of makes... or those which could become Christmas presents. (The justifications of a self-confessed crafting-addict!)

These two projects fall into a category each. The string of hearts was so ridiculously easy that I felt the need to complicate it slightly by needle-felting the fabric before making up. Fun, and still speedy, and at about a metre-and-a-half in length, it looks impressive too.


The beaded stars came about because I saw a tutorial at the exact moment that I needed an absorbing project that wasn't too complicated or time-consuming. Perfect. As a result I've made a fair few, and most of my friends will be getting one for Christmas.

Have a happy and crafty Christmas, everyone.
Hx


Saturday, 24 September 2016

Distractions!!

I've always had a bit of a scatter-gun approach to crafting. Like many crafters, I love trying new techniques and experimenting with different crafts. Unfortunately this can lead to quite a few UFO's (un-finished objects!) as I spot a new technique before I've finished a project, and just can't wait to dive in.

I have tried to be strict with myself, making an unwritten rule that I will only have three projects on the go at any one time and that I am not allowed to start an new project until I have finished one. This fails. One glance at my "PHD list" is evidence of this. The list has a couple of items that have been there for months (if not years). These are projects that have been abandoned for one excuse or another, but always usurped by another idea.

And then there are projects that are completed before they can even make it to the list. These are generally quick makes that I've seen somewhere else, that I just have to try out immediately. So, in homage to the long-suffering unfinished pieces (they'll get completed one day), and as a tribute to those rapid impulse projects, I am listing them both here. All the pictures are of the distraction projects.

Unfinished/interrupted/stalled projects

  • the guilt quilt (a pile of patchwork squares and cut pieces in the bottom drawer of my craft cupboard)
  • the T-shirt patchwork - I blame this stalling on my overlocker becoming temperamental. It's a flimsy excuse
  • A teddy bear - I've got as far as cutting it out....
  • Canvaswork embroidery - to be fair, I can only do this for short intervals
  • and then there are any larger dressmaking, knitting or crochet projects that I might have on the go at any one time.....

Interrupting impulse makes

  • wet-felted flowers - I saw how easy this was on TV, and had to try
  • Flat-wire "rose" rings - I got a lucky-dip jewellery-making bag, and had no idea what to do with the flat wire enclosed. After researching, I had to see if it was possible....
  • Crochet hexagons - just make up a sample to see if my idea will work on a bigger scale
  • French beaded flowers - seemed like a good way to use up some of those masses of seed-beads I was given
  • Beaded dragonfly - same excuse!
  • Underwear - well, I need some new ones, they're fairly quick, and I have to perfect comfort as well as prettiness
  • Hairpin crochet - this is great! It will work up fast and looks amazing. Need to check I can do it before I try and tackle a big project.
  • Netting bag - again, I can do this quickly just to experiment. I think it will be really useful in the future...
Well, you get the idea. I'm sure I'm not the only crafter guilty of such fickleness! Hurrah for eclectic skills!
Hx


Thursday, 2 June 2016

Tree of life - Golden Wedding Anniversary

 I've written about making a "Tree of Life" before (Tree of Life ), so I'm not going to go into too much detail here. This one came about as a gift for my parents as they celebrated their golden wedding anniversary.


It's made from gold-coloured wire, with chips of golden citrine. For me, this meant I could fill the design with added meaning.
Golden citrine is considered to be the gemstone of happiness. I used fifty chips - one for each year of their marriage.

I also turned the design of the main ring upside-down, which allowed me to include the swirls at the bottom. For me, these are representative of the strong roots and love extending from my parents and their togetherness.

Sadly I wasn't well enough to share in the celebrations on their big day, but I hope this gift gave them an idea of just how special they both are to me. I am unbelievably proud of them reaching this milestone!

Hx

Monday, 8 December 2014

A circle of hearts

This is another idea I had for needle-felted fabric. Again, I was using re-purposed sweatshirt fabric as a base, and I needle-felted wool scraps onto it for a pattern. I then cut out the heart shapes, along with a neutral fabric for backing.


In contrast to the heart-shaped badges I have previously made, this time I slightly stuffed each heart as I stitched them up. This gives a satisfying plumpness to the pieces.
When I had completed a number of the hearts, I sewed them together into the circle shape. Eight hearts seems to be the minimum number that worked (without producing a very strange shape!), but more could have been effective too.

 I then tied a bow in ribbon that matched the sewing thread, and stitched it onto the top of the heart circle to create a hanging loop.


 I like the result, and made these two matching heart banners to hang alongside. The construction technique was basically the same, although this time I anchored the ribbon through the centre of each heart as I stitched them together.


It is difficult to tell from these pictures, but the ribbons form a loop at the top of each banner. The pieces can be suspended as a decorative group, or positioned separately to provide individual decoration. A bit of loving warmth for this festive season.....


Happy Christmas, all!
H.x

Thursday, 10 October 2013

A Wedding present

Two very dear friends of mine got married recently. Short of cash, but buzzing with inspiration, I decided to make them a present. Like hubby and me when we got married, they've been together for a long time, and didn't really want anything in the line of "setting up home together". So the gift had to be something that had special meaning for them, rather than of major practical use.

Using my idea of a hanging ornament (see my post, "Make your presents felt" from May 2013), I decided to combine a variety of techniques to create these intertwined hearts.

On one side I embroidered the first initial of each of the happy couple. The colours used were lilac and purple - the theme colours for the wedding.


On the reverse side I embroidered the date of the wedding. Across this I stitched a thin ribbon tied in a bow, to represent the tying together of these two, precious hearts.

Suspended in the tassels hanging from the bottom of each heart are nuggets of rose quartz and amethyst. These two stones are rich in mythology, combining beliefs of true love and protection. The happy couple had scattered them on the tables at their reception.


Finally, on each end of this three dimensional ornament is a piece of needle-felting which has particular significance for them. It comes from a family saying - that all you need to give to someone you love are roots and wings. The roots are to keep them safe and grounded, and the wings are to help them fly and be the best that they can be.

I think this is a beautiful sentiment, and knowing that their wedding rings are engraved with "roots and wings", I wanted to incorporate it into the gift.
I needle-felted some purple mohair wool into a flat piece, before cutting it into a wing shape. This was then felted onto the heart, along with some cotton knitting yarn to create the "roots".

This whole piece is filled with meanings that are very particular to this couple. I hope I have done them justice, and I hope that this ornament is a symbol of the shared joys of their combined hearts for many years to come.
H.x

Wednesday, 15 May 2013

Make your presents felt!

Hurrah for Kirstie Allsopp! During my prolonged convalescence I've become quite a TV addict, and naturally find myself gravitating towards programmes that offer some creative inspiration. Last year I became almost obsessed with Kirstie Allsopp's "Homemade Christmas", which is teeming with a variety of brilliant crafting ideas. On a couple of the programmes she tried her hand at needle-felting.

I had mixed feelings about the pieces she was making (loved one, loathed the other), but I was really excited by the technique. I got myself a 5-needle felting tool and large needle-felting mat, and started to play.

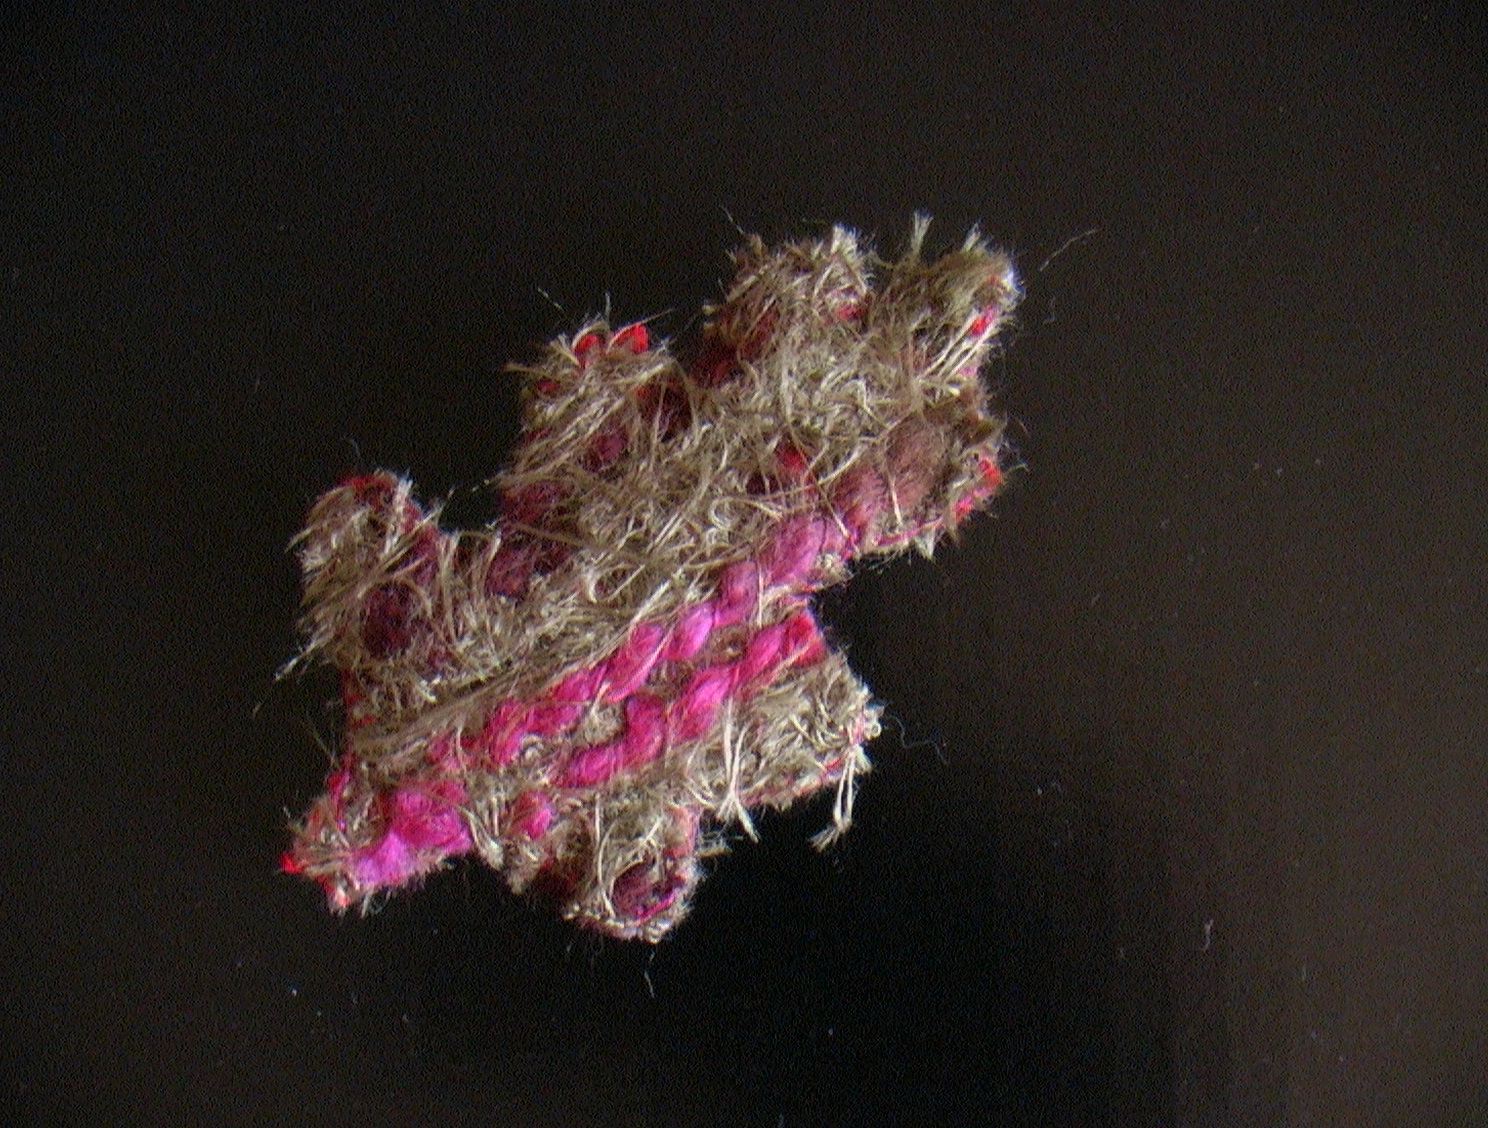
I started with some off-cuts of fabric from the jacket I'd made (see "The Jacket" post from February), and some wool roving that I'd bought and it worked really well. I soon started experimenting with other elements, though. This little brooch is made from an old sweatshirt that was cut into pieces, with scraps of decorative knitting wool felted onto the corners. After making up the flower shape, I hand-stitched seed beads into the centre and added a clasp on the back.

In theory, as the tool works by meshing the fibres together, this technique should work on any material. I've discovered that some things work better than others. It's a great disappointment to me that ordinary cotton shirting fabric doesn't mesh well by hand-felting (as I've got loads of it!). It does work if "laminated" in place with something more fibrous, but it's not very secure.

I then discovered that needle felted material can be cut! It makes perfect sense if you think about it - the fibres have been meshed, so they are not going to fray. It just hadn't occurred to me. So I started randomly felting wool onto fabric, and then cutting it into shapes. This leaf brooch is, again, novelty wool felted onto sweatshirt fabric. You can get some really pretty effects on the reverse, as well. The fibres that are pushed through give a very soft version of what's on the front. It also has a tendency to be quite fluffy, so I found that it is worth backing the pieces before attaching the brooch findings. It was only after I had made this one up that I thought it might look better with some leaf-vein features embroidered onto it. Oh well, next time!

With all this playing, I began to think about using the medium to make something with more structure. I wanted to move into 3 dimensions! The results were items like these Christmas tree decorations. I took simple shapes and stitched three together, adding a loop and tassel to create small hanging ornaments. They are simple to make, but have quite a striking result.


I've used the technique to make a wedding present for a friend of mine, and I'll write more about that on a later post. For now, I'm continuing to play and discovering new ways to mesh fibres. I'm experimenting to create fabric from felted knitting wool, and in the process building quite good muscles on my right arm from punching the felting tool up and down into the mat!

H.x

The flower brooch and Christmas tree decorations are for sale in my Etsy shop.